
Product teams running Shopify stores usually keep a second copy of their catalog in Airtable — for merchandising plans, supplier lists, marketing calendars, or a lightweight internal dashboard. The problem shows up fast: someone updates a price or stock count in Shopify, and Airtable quietly goes stale. This guide walks through how to sync Shopify products to Airtable without code, so both stay accurate in either direction.
Why teams sync Shopify and Airtable
Shopify is built to sell. Airtable is built to organize, plan, and collaborate across teams who don’t live in the Shopify admin — merchandisers, suppliers, customer support, or agency partners. Keeping product, inventory, and order data flowing between the two means:
- Merchandising and content teams can plan launches in Airtable without touching Shopify permissions.
- Inventory counts stay visible to people who need them but shouldn’t edit the live store.
- Supplier or fulfillment updates entered in Airtable can push back into Shopify automatically.
Manually exporting CSVs from Shopify and re-importing into Airtable works for a one-time snapshot, but it breaks down the moment either side changes daily — which, for a live store, is constant.
What you need before you start
- A Shopify store with admin access (to create a private app or use an existing API connection).
- An Airtable base with a table shaped for your product data (SKU, title, price, inventory, status, images).
- A Synquake account — sign up free at app.synquake.com.
You don’t need a developer for any of this. Synquake connects to Shopify’s and Airtable’s APIs directly, so there’s no custom script to maintain.
Step-by-step: connecting Shopify and Airtable
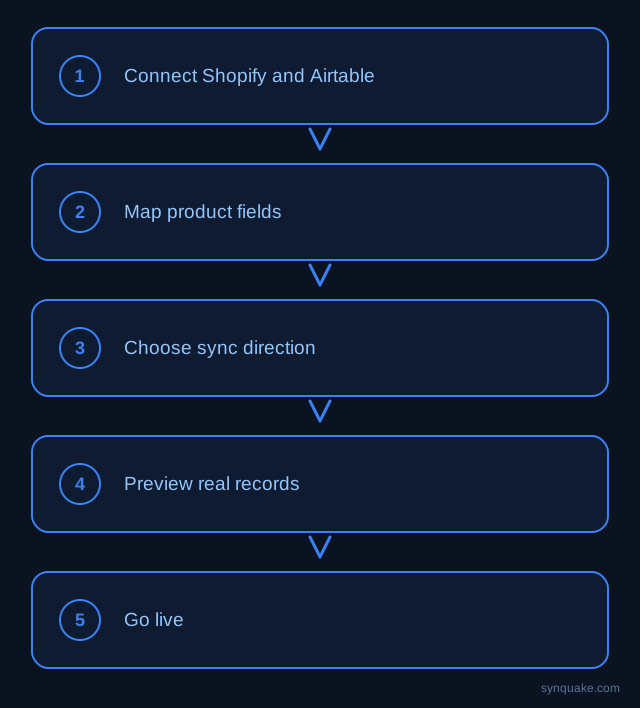
1. Connect both accounts
In Synquake, add Shopify and Airtable as connections. Shopify authorizes through OAuth; Airtable through a personal access token. Neither requires exposing raw API keys to your team.
2. Choose what to sync
Decide which Shopify object maps to which Airtable table — most stores start with Products (and variants) to an Airtable “Catalog” table, and optionally Orders to a separate table for fulfillment tracking.
3. Map your fields visually
Draw the connections between Shopify fields (title, price, SKU, inventory quantity, tags, images) and their Airtable columns. Field types don’t need to match exactly — Synquake handles the conversion, including Shopify’s variant structure mapping to linked or repeated Airtable rows.
4. Set sync direction
Choose one-way (Shopify → Airtable, for teams that only plan and report in Airtable) or two-way sync (so edits in Airtable, like updated supplier notes or a manual stock adjustment, push back to Shopify). All Synquake plans support 2-way sync — it’s not a paid add-on.
5. Preview before going live
Run a preview sync against a handful of real products first. Check that prices, inventory numbers, and images land in the right Airtable columns before you flip on continuous sync.
6. Turn on live sync
Once the preview looks right, enable scheduled or real-time sync. From here, updates in Shopify (a price change, a restock) and updates in Airtable (if two-way is enabled) flow automatically, with no manual export/import step.
Common Shopify–Airtable sync scenarios
- Merchandising calendar: Marketing plans launches and promotions in Airtable using live Shopify inventory and pricing, without needing store admin access.
- Supplier and dropship tracking: Suppliers update stock or lead times in a shared Airtable view; those updates sync back into Shopify inventory.
- Multi-channel catalog: Teams selling through Shopify and a separate site (built on Webflow, WordPress, or Squarespace) use Airtable as the shared source of truth, syncing outward to each channel.
- Order reporting: Orders sync into Airtable for teams that need lightweight reporting or fulfillment views without a full BI tool.
Avoiding common sync problems
- Variant mismatches: Map Shopify variants (size, color) to a consistent Airtable structure before turning on two-way sync — inconsistent variant mapping is the most common source of duplicate rows.
- Inventory race conditions: If both Shopify and Airtable can adjust stock counts, pick one system as the authority for inventory, or rely on last-modified timestamps to resolve conflicts.
- Image handling: Shopify product images sync as URLs; confirm your Airtable attachment field is set up to pull them in rather than storing broken links.
- Currency and pricing formats: Normalize price fields (decimals, currency symbols) on both sides before the first live sync to avoid rejected updates.
Beyond Shopify and Airtable
Synquake’s sync is any-to-any across seven platforms — Airtable, Webflow, WordPress, Supabase (including Lovable-built apps), Wix, Shopify, and Squarespace — plus CSV import/export on every plan. That means the same Airtable catalog you sync from Shopify can also feed a Webflow or Squarespace storefront, or a Supabase-backed app, without separate one-off integrations. See the full integrations page for details, or read how it works to understand the connection, mapping, and monitoring model.
Related reading
- Airtable Data Cleanup Before Migration
- Data Normalization Before Sync: Practical Guide
- Automated Field Matching for Easier Integrations
Get started
Syncing Shopify and Airtable without code takes minutes to set up and removes the manual export/import cycle for good. Start your first Shopify-to-Airtable sync free and preview it against real product data before going live.